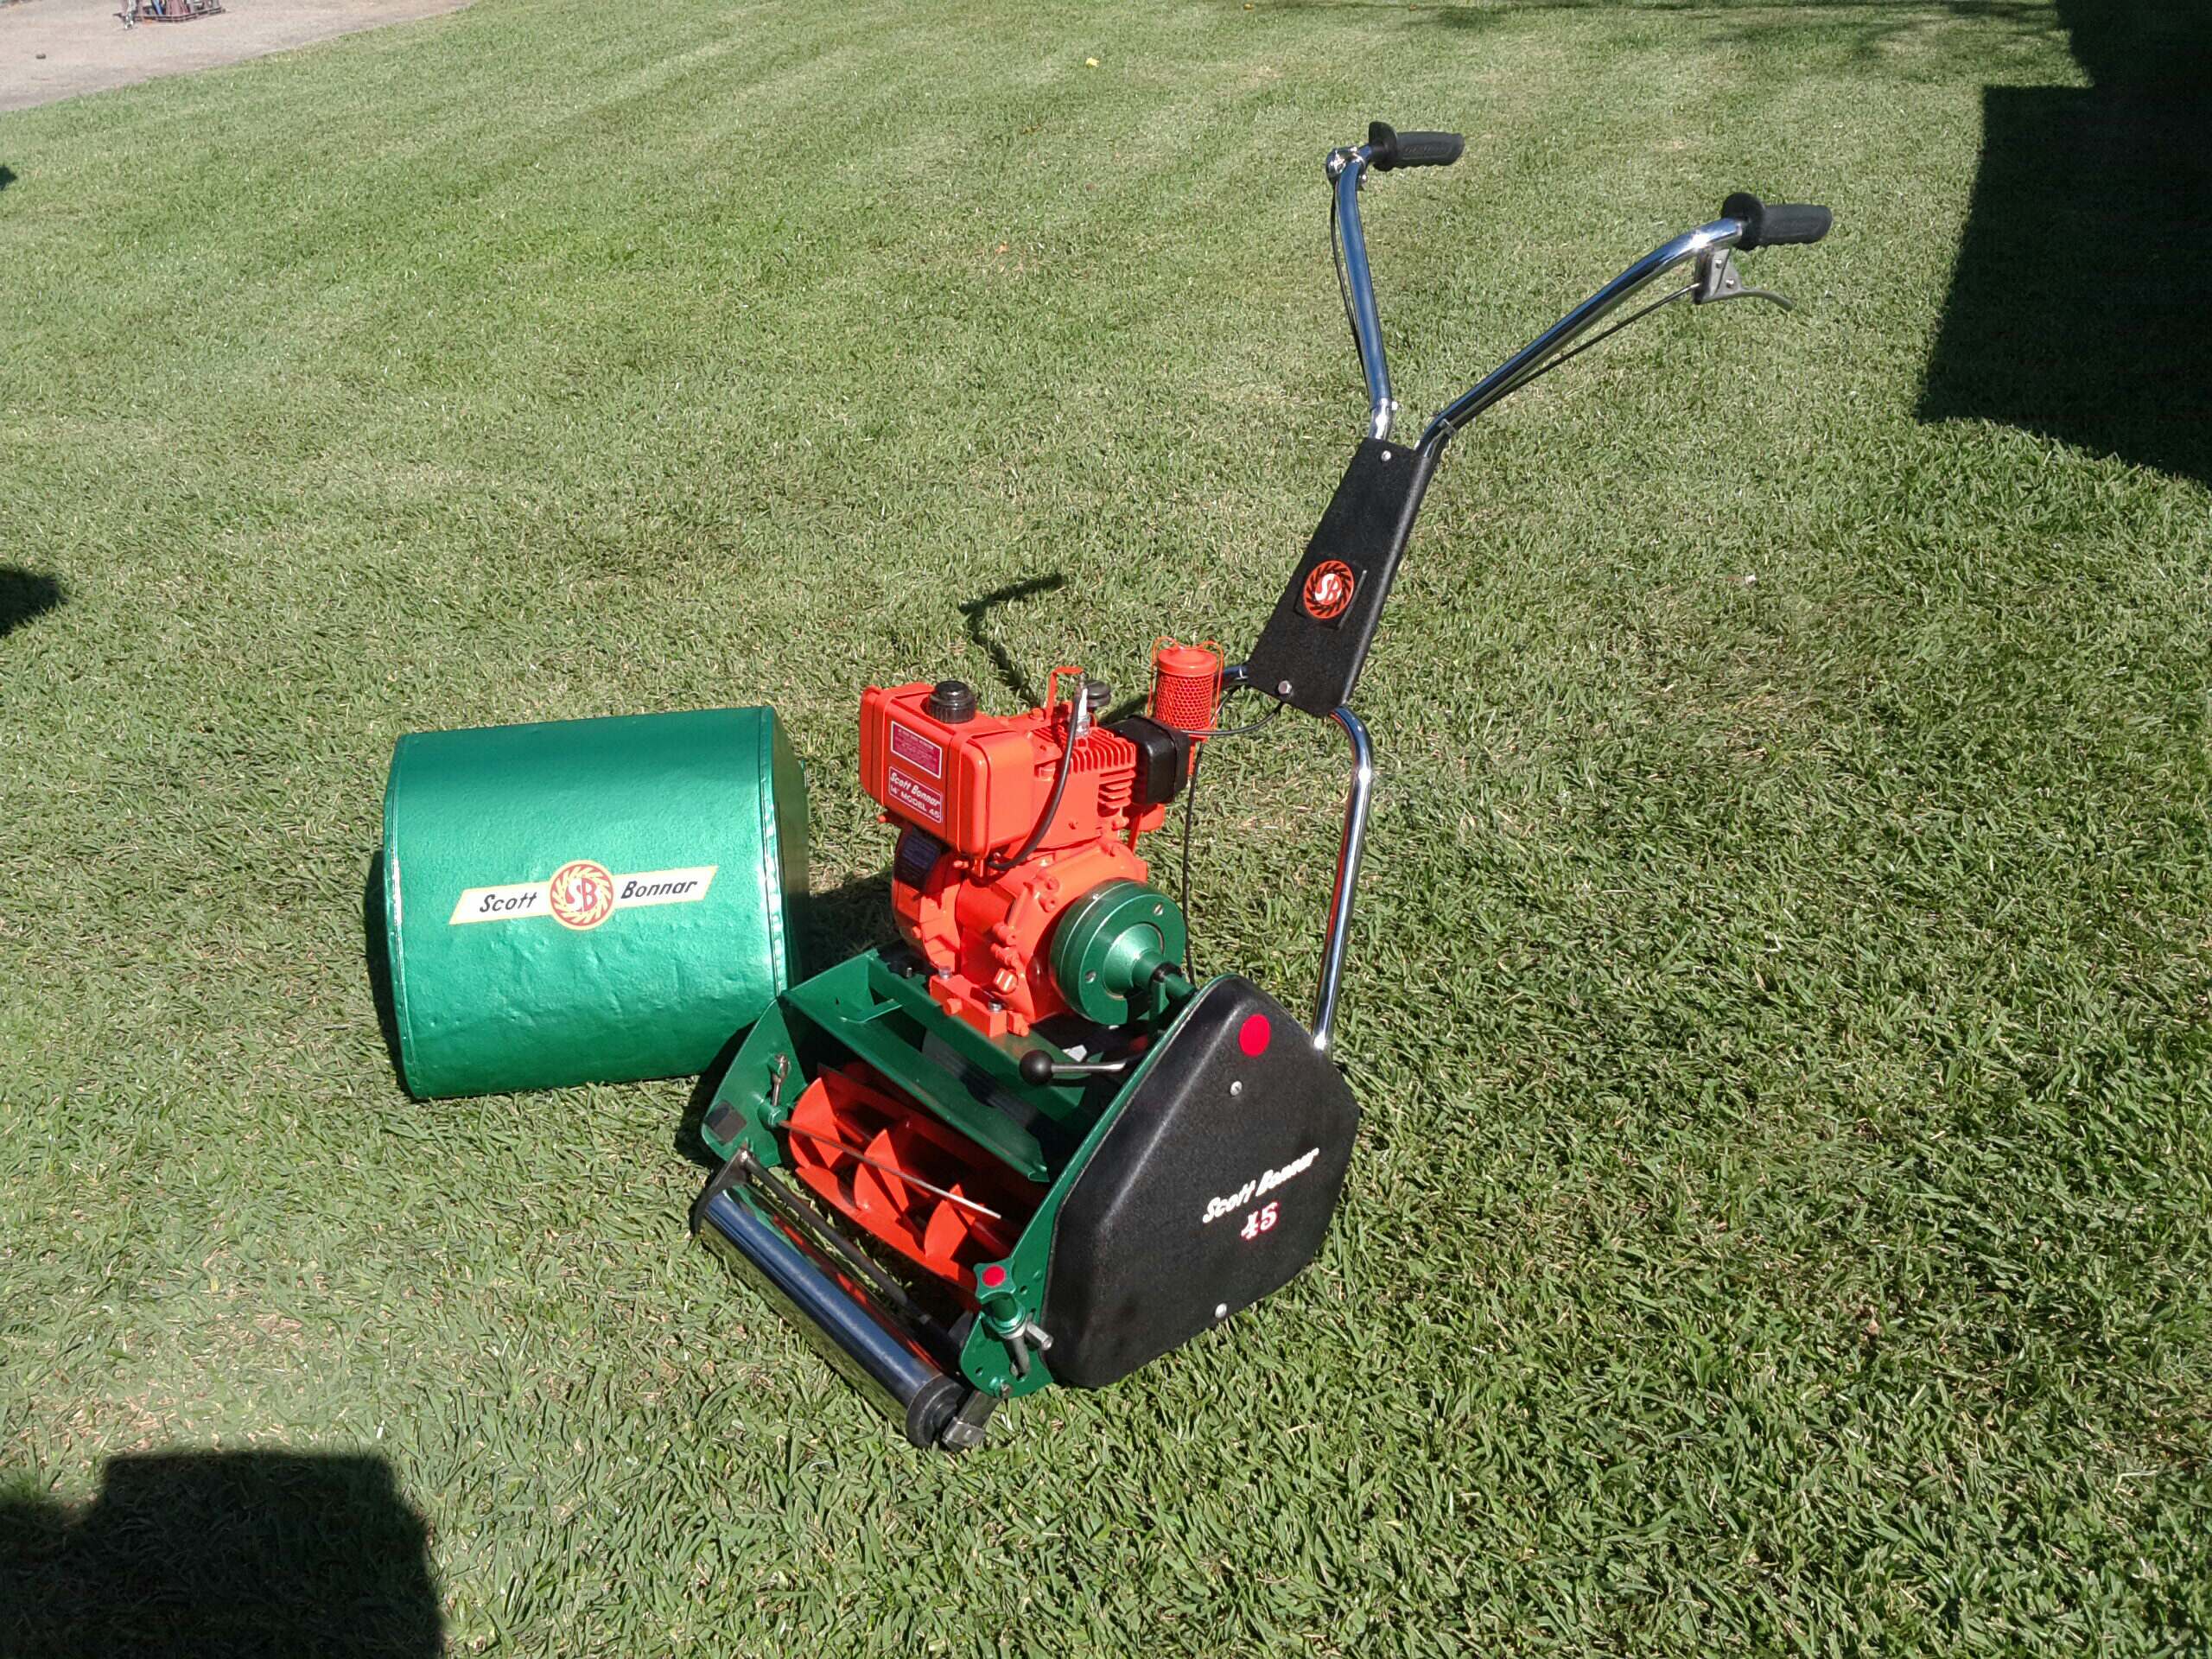
Hi everyone just finished restoring my model 45 reel mower and have decided to start on restoring the matching edger. There seems to be little Info on restoring these edgers so any help would be greatly appreciated. My main question is where to start tearing it down from, it doesn't seem as straight forward as other edgers with just removing the 4 engine mount bolts and undoing a belt. Just wondering if I can undo the engine mount bolts and the pulley mecanism comes out with the engine? Or is there a better way to tackle this.
Also interested in a bit of history with this series edger, I did get off track with CyberJack on this edger in another post but was wondering what the original colour scheme was for this series. The top part of the handlebars are green but have white paint underneath, my research seems to show this earlier series with the Kirby engine having white handle bars and the later series having a Briggs engine had green handle bar. Would mine be a cross over model or has someone painted it green, for those who haven't seen my other threads on my restorations I like to restore everything to the correct period detail right down to a bolt.
Looking to get this finished before the start of this year's new lawn season so stay tuned and I will post updates as I go along.
B.B all that talking about paint has got me on a high.
I guess the fumes have gotten to you haven't they ? LOL !!
Not quite sure any of us will be able to clarify this issue, but you may be correct that they were painted white and then some handles were old finished stock and then had to be re-finished to suit the new livery that SB changed to.
Must admit that edgers are of no real interest to me personally as they are really out of date machines for the modern garden where units like the single wheel Atom Edgers are streets ahead and me personally I use a straight shaft Line Trimmer free hand. Not everyone's cup of tea I might add as it requires a rather steady hand but those older style Tilt a Cut type machines were designed for the lawns of the 1960's where you had concrete all around the edges for the machine to run on. We've now moved away from this type of landscaping and thus the machines are obsolete in the general domain.
I also feel that the Model 38 has become and overnight must have partner to a Model 45 owner simply because of the 45's rockstar status. The other item that's had a demand created is the optional edger attachment that can be fitted on the 45 and after most new owners fitted it and attempted to use it quickly found out it was a suicide piece of kit only to be removed and tossed aside within 10 seconds.
I'm not trying to discourage you from doing this project but simply warning you that they ain't all what they're cracked up to be.
Cheers, BB.
I live a 24 Hour lifestyle, but every now and again I seem to fall asleep, well at least that's what my wife tells me.
The top part of the handlebars are green but have white paint underneath, my research seems to show this earlier series with the Kirby engine having white handle bars and the later series having a Briggs engine had green handle bar.
Well, I prepared to help clarify this issue.! Best evidence suggests that Kirby powered edgers had white handlebars. Green handle bars appeared with the Briggs powered machines. At this time the handlebar lever lifter was removed as a feature.
Quote
Must admit that edgers are of no real interest to me personally as they are really out of date machines for the modern garden
Hello Glo Mod BB This is not my view at all. For most applications, line trimmers are hegemonic in the modern era. They do a good job - and are flexible in application.
But, Bladed edgers still remain relevant and are sold as such. It's a niche market, sure.
Some modern, domestic, gardens can still use these, particularly with the move to geometric conformity, a hark back to formal gardens of yesteryear. Classic designs are enduring.
The bladed edgers of older times will deliver much cleaner cuts in straight lines. This is why they still have a commercial market today.
I love Scott Bonnar's offering 'flexible wire blades' as an option. This was a poor challenge to the emerging line trimmers of the mid 1970s. We know which technology won out there ...
Bladed edgers are not obsolete, but there is great ignorance out there. So ... not an out-of-date machine to me, but one largely misunderstood by many. That's a pity.
Bonn Scott, you know your stuff. If this is a user, use it for clean, crisp, straight edges.
If your yard does not use pathway designs then preserve this machine as a historical talking point.
The Model 38 is a great machine, with useful relevance today. Please keep us informed.
I agree CyberJack, there is still a place for edgers like the 38. I have ended up with 2 Victa TaC's and 2 Alroh imps, and they go well around the straight traditional edges (in this case a garden designed in 1987). I also have a Ryobi expand-it stick edger which is good
The lawn shape was made by my grandmother (now 90) and reflects the traditional thinking - dead straight edges. They had a kidney shaped garden bed in the first house they built in the early 50's, but the subsequent houses all had straight edges. They entered in all the local garden shows, so everything had to be perfect.
From what I can piece together, Pop at one point bought a SB edger to complement a 45 - used it once then went back to the traditional wheel edger and half moon edger.
Personally, the problem I have is the back lawn is surrounded by slabs which are no longer a perfect line - meaning I have to use a line trimmer. I use a straight shaft homelite with the gearbox turned 90 degrees. And if I take one chunk out of the lawn, I won't hear the end of it for weeks .
Pair that with the uproar caused by the non-resistor plug in a victa causing interference to the TV whilst Bold and Beautiful was on, and how I left the fuel tap on whilst finding another plug and killed a good patch of lawn through the needle leaking - those caused real issues.
The Jims man who does our lawn and the next door neighbours is a menace with his snipper , I had to get him to stop snipping our edges but he continues to do next door even after the woman next door paid him a couple of years ago to replace the soil around the edges after both she and my wife fell over in the grooves he cuts around all the edges. He is retiring at the end of this year so we will just grin and bear it.
I myself am an edger person, I currently use a Rover edge runner as my daily machine to do all my edges. I currently have a square15m X 12m straight edge along a paved patio and a concrete runway boat ramp in the backyard I'm also doing a new double 12m long concrete driveway in the front yard next month. I'm not a fan of lots of designed edges or noks that are time consuming or hard to reach. My lawn is about 1"- 2" above the concrete so it looks nice when done and creates a nice border around the concrete. I can't do the edges with my brush cutter as I got a Honda gx35 handlebar type so turning it on its side is difficult to do all those edges plus my medical condition doesn't allow me to use my arms in that position reason why I have handle bars with a full harness.
I only picked up the model 38 mainly because it had the Kirby engine and thought it was cheap enough for parts in case i needed them for my 45, the only downfalls I can see with using the 38 edger is that it's a right sided blade so I would have to run it the opposite direction to the Rover and that it doesn't seem to have an increment height adjuster instead having just all the way up or down. If I do decide to do this one up I can't see me spending the $$$ I did on the 45 for it instead maybe just cleaning it up and giving it a quick paint job (the financial advisor has already given me the look of death). I know it runs so this is my plan I don't want to be tearing the engine down and having to source rings gaskets and that damn pto seal again. I still have plenty of hammer paint left over from the 45 restoration so maybe $50.00 worth of engine enamel and my time and passion which is priceless.
Weather I use it after that or it sits next to the 45 as a matching pidgion pair is yet to be decided. these restorations are now becoming more of a hobby for something to do as well as helps with my theropy which is more satisfying than building a plastic or dicast model kit you buy from a hobby store that sits on a shelf collecting dust and has no purpose.
Thanks wce Hoping the 45 will straighten it out next season, I have been using the old Rover Rancher ride on which doesn't have much of a variable height adjustment and leaves tyre tracks.
That tree in the middle if I'm correct is one of those species that has to be cut back to the knuckles each season to stay manageable ?
I had one in my previous properties and had it not been for the fact my mother and I planted it next to the garage as a memory tree for my father it would've been ripped out years earlier. It was always a full days work cutting everything back and then snipping it all into smaller pieces so it would all fit in to 4 green waste bins. If it wasn't cut back it would turn into an absolute monster.
Is this much the same scenario for you BS ?
I also must concur with member wce that it's a magic location you're situated in.
Cheers, BB.
I live a 24 Hour lifestyle, but every now and again I seem to fall asleep, well at least that's what my wife tells me.
Just an update on my previous post earlier on in this thread.
I have not in any way suggested that these edgers are totally obsolete as there will always be some one that finds it suitable. My comments were a generalisation of how the current industry views them.
ATM many newbies are getting caught up with anything that has the Scott Bonnar name on it and feel that there's plenty of cash to be made out anything with the SB logo on it...............Wrong !!.......... that's a false ideology as plenty are getting their fingers burnt thinking this way.
I've watched plenty of newbies that have paid well over the odds for a Model 33 or Model 40 etc. thinking that they've bought something that will retain a huge value and could be easily flipped for a substantial profit and as such the Model 38 edger has fallen into this category. So I ask why does a Victa "Tilta a Cut" fetch bugger all (generally under $100) while many Model 38's are being flipped at $200 plus at the moment ???? it's simple. ........it's the Scott Bonnar flippin' craze that's running riot atm. A couple of years ago you couldn't get $20 for a 38. You be the judge.
Regardless of any Historical significance the Model 38 which will certainly suit some users and I don't dispute that, but as Admin CJ suggested in his post above, it most certainly is a "niche market" product for it's intended use as a tool and thus it's significance isn't reflected by many current gardeners ownership. Why don't most Lawn Contractors keep them in their trailers ??
Now as far as line trimmers are concerned there are good operators and then there are just very BAD operators. As previously mentioned I use my McCulloch straight shaft free hand and I dig no holes or trenches whatsoever and my edges appear as if I used a blade edger. I guess it's all about the operator blaming the tool I've always said. As Norm showed us above in that photo, the Jim's bloke is just a bad operator and it's just about making a quick buck with no effort or skill at all.
Truly the Australian way I've always said.
Cheers, BB.
I live a 24 Hour lifestyle, but every now and again I seem to fall asleep, well at least that's what my wife tells me.
Just on that debate of edgers I think Tyler summed it up with his pops experience that all yards are different and some lawns are not edger friendly. Prior to my current medical history I had a privately owned commercial lawn mowing business and 95% of edges were done with the brush cutter purely for the fact that it was quicker and at the end of the day most people weren't obsessed with their grass that if the edge was a bit out it dident matter ( the fact that the edge was done was a plus) the only time a push edger came out was when a lawn edge hadent been done in 20 years and grew 1foot over the concrete that you couldn't find an edge, once the edge was carved the next time would be done with the brush cutter. I think you will also find in the old days everyone had the old thick Buffalo lawn which was impossible to cut and thatched 4" above the concrete and needed these concrete cutter style blades to maintain the edge. Landscaping back then was also very clean and tidy with very open spaces where as today people want to be different and create caos to stand out and out do the neighbour next door.
I have never used an atom style edger but I can see the benifit in them with all the new fancy swayed edges and driveways, you definately couldn't do a nice edge with a push edger as you would chip half the concrete away hence why Tylers pop went back to his wheel edger.
As wce said what a magic location I'm in, this property and the one next door have been in my family for 53 years and has seen 5 generations and you guessed it it's all square edges and old thick Buffalo. Sometimes simple and clean is easier and better than having a maze of a yard plus who's yard do I have to out do with what's maintenance free beyond my yard.
Don't get me started on that tree it's a sore point. If I had my way it would be gone. My great uncle planted this Mullbury tree in the early 90's purely because his sister my grandmother had an established Mullbury tree in her yard next door and everyone would sit under it in summer keeping cool while all us kids went for a swim. This tree eventually vent rouge and grew out over the adjoining two fences and was eventually cut to nothing however it grows mad and needs to be done every year. We cut it right back to the thick trunks last August when it dropped all its leaves and this is the result 8months later. It will need doing again this fall or else it becomes a massive job. It looks nice when it's like this but if left to next summer it will be twice as big, the fact that I can't do these kind of jobs anymore wishes it was gone however I'm not inline to the throne yet to make that decision.
Forget about the green bins we have 2 and it does nothing we have to book 2 curb side council clean up one for each property to get rid of it. Damn nightmare.
Everything you've said brings back all those bad memories of the task that had to be undertaken every Autumn. I let it go one year and said never again. They are truly monsters in every way shape and form.
Cheers, BB.
PS. Ah those old Buffalo and Concrete back yards of the 1960's, I remember those when you could turn a car and caravan attached around in them.
I live a 24 Hour lifestyle, but every now and again I seem to fall asleep, well at least that's what my wife tells me.
We're rather lucky here as we can take as much green waste as we want to our Council's "Enviro Care Sunday" on the 2nd and last Sunday of each month totally free of charge.
They then use it to make mulch out of and sell it to other Councils etc.
Cheers, BB.
I live a 24 Hour lifestyle, but every now and again I seem to fall asleep, well at least that's what my wife tells me.
We are kind of lucky here as our council allows us to book 6 curbside clean ups anytime of year greens or rubbish. We get 12 cause of the 2 properties so we could book a double clean up if he have heaps or average 1 a month between the 2 houses. But the tip charges something like $80.00-$100.00 a tonne.
Most Councils have aborted regular pre-dated days where you could put as much garbage out as you wanted and they'd just go down each street cleaning up the mess that was left behind by Second hand trawlers that scattered stuff all over the place making each street looking like a bomb site. Most have now swapped over to the pre-booking system which works out so much better for everyone except the trawlers I guess.
Cheers, BB.
I live a 24 Hour lifestyle, but every now and again I seem to fall asleep, well at least that's what my wife tells me.
Ok so here's the first progress. Got up early this morning and torn the little 38 down in 1.5 hours except the engine which I will do once I sort the base, I hate having bits everywhere getting mixed up and lost.
I'm going to run through a few photos because there really isn't any reference of these edges being pulled apart or restored. Thanks CyberJack for that parts diagram it really helped, so I'm going to post it up here for easy reference. The guard cover comes off with 3 bolts exposing the blade belt and puley mechanism, I recommend removing the blade and the pulleys before removing the mechanism off the engine. I did it the other way around and had to clamp it in a vice to remove the pulleys, depending how rusty or locked up it is you may have to do it how I did involving the mech off the engine and clamp it in a vice. First pulley has a grub screw in the belt track so losen that then undo the bolt in the middle that connects to the PTO shaft on the engine, it should slide out with a keyway once the 4 bolts are removed from the side of the engine. Second pulley on the blade side is a bit more difficult and may need to be clamped in a vice. I clamped the pulley in the vice then clamped the blade boss with a pair of multigrips on the outer edge of the shaft and used a long bar on the multigrips to crack the thread free, you can then knock the shaft pin out from the pulley side giving you access to the bearings in the mechanism of you chose to replace them. You could also try clamping the blade boss in the vice and use the little hole in the pulley track to undo the thread but mine was so tight it was bending the screw driver as that was the only thing big enough to stick in the hole, like I said I had to use a bar to crack the thread free.
There really isn't much to it, it looks complicated but once you get your head around how everything is connected it's easy so hopefully this post makes it a bit easier for anyone else as I was a bit hesitant before I started. The rest is straight forward
A little more info for reference the 3 main bearings in the belt setup are 6003RS. These bearings are a common model and you can pick up a set of 2 for $5.00 on fleabay. Original Japanese Koyo are also available for $9.00 each plus $20.00 postage from the U.K. 2 are located in the blade section and 1 in the tensioner. When I knocked the bearing out of the tensioner it was so wedged that the 2 small tac welds cracked which were barley even welded to the support bracket so I had to weld it back on. That tension bearing seems to be a bad design even though it's a sealed bearing the cup the bearing sits in which the belt runs on gets burried with dirt.
Would you have the complete exploded view parts diagram with the numbered description and part numbers list, I would like to check a few things that may be missing or incorrectly installed. I have noticed someone has replaced the leaver mechanism mounting bolts on the side of the engine with tension bolts that are way to long and put the nut on the inside of the head bolt as a locking nut, there's also a couple of other bolts missing which I'm hoping the description list will indicate the bolt size so I can run it up to my local fastener shop.
Thankyou CyberJack, that's exactly what I was after I will just print this off and take it down to the fastener shop next time I go past and get the correct bolts. I also noticed that the diagram shows the leaver on the right hand side yet mine is on the left, I thought maybe the handle bars were back to front but all the others I have managed to find online are also left handed. Will take a look tomorrow if the bars are reversable.
Got a bit of prep work done today, majority of the base is cleaned up and primed ready for a top coat just need to clean up the handles and a guard bracket then I will start on the pulley assembley. I also ordered 3 new bearings and managed to find the original Koyo Japan brand all for just under $20.00.
I can confirm the original handles were definately white, the green came right off with paint stripper and was a different shade of colour to the base. It's going pretty good at the moment, will get stuck into the pulley system sometime next week.
I finally got a bit of time to relax and get a bit more done on the model 38. It really feels rewarding when you finally get some parts back together as the rust removal and degreasing can get a bit daunting. Most of the base is done I obviously can't put the leaver and guard on untill the engine is mounted. Thanks to CyberJack for the exploded parts diagram I noticed a few parts are missing which I will try and source from my local fastener shop and some washers were installed incorrect on the leaver prior to me tearing it down. The leaver is now able to manouvour in different height positions rather than all up or down as it did before. Next stage will be servicing the engine and re-painting, I can't see me doing a full teardown and rebuild of this engine as it runs pretty good.
Started working on the engine and now it's in a million pieces, couldn't help myself it looks like it's going to be a full rebuild. I just love these Kirby's when there restored. Kind of glad I did as the rings could do with replacing and the sump was grubby.
This is the reason I decided to strip the engine down complete. I used paint stripper then blasted it with the gernie, what bits were left came straight off with a wire wheel on the drill press. It's alot easier getting into the nooks and cracks with the engine in pieces and well you don't want to be using the gernie if you don't strip it right down and dry it out. I also got these tiny hobby wire wheels you put on a Dremel to get in those hard to reach places, there like a few bucks for a pack of 5 on fleabay I put them on the drill or drill press and they work wonders especially cleaning inside the valve ports with a bit of carb cleaner. I just use the cheap paint stripper from Bunnings it's only $9.99 and works the same as the Selley's, just be carefully this stuff burns if you get it on your skin so make sure your covered up and wear eye protection when removing the paint with this stuff on it.
It's a labour of love, and why I always say I hate cleaning and de-rusting. Do you have a recomended way to clean the inside of the engine, as this one's pretty thick with oil and gunk, I got it fairly clean with carby cleaner and degreaser but there's still some gunk I can't get out of the drain plugs I may need to soak it in something would kero do the trick?
I wish i had a blaster cabinet with the correct setup but i have no room and way to many hobbies to house all my toys and tools. Definatly slow and tedious, i still have to clean the carby and fuel tank as i had enough after a few hours. Cant wait to its all done and the fun part starts with the painting and re-asembling as it makes it all worth while when you accomplish something your proud. No doubt there will be more photos coming up soon of the Kirby build as soon as this cyclonic weather we have passes.
So decided to get up early this morning before the wind decided to come up and I managed to get some paint down on the engine, it's all done except the fuel tank and recoil starter.
A bit of experience bit me in the bum that I was able to work quicker knowing what I was doing and didn't realise I had sprayed to many parts to fit in the oven, lucky I didn't spray the tank and recoil started and managed to squeeze it all in. Lesson learnt spray only what will fit in the oven, got a bit cocky I guess.
Anyway 85% of the engine is done just waiting on new rings and gaskets and need to clean up the remainder of the internal guts and it should be good to mount.
I'll cook dinner tonight darling - you stay there and don't peek till it's done, want another glass of bubbles?
Do you want fries with that?
Thanks for sharing your progress Bon - you take good care and "do it right". Seeing your work makes me try to emulate the quality outcome.
That Poly paint stripper is the best, but there is a push to ban it so I bought a litre to do my second '45 reno. You're right about the skin burn - only took me one hit to realise a bucket of water nearby is a necessity... The fumes are pretty nasty too!
It's full of Caustic and that's definitely not good for the skin. Also having too much of it on hand is also an issue as it becomes weaker everytime you open it up and take some out thus letting more air in with it, thus why I only buy it in smaller quantities.
Also it's better once opened to take it out of its tin and store it in glass, this way it doesn't react with the steel which the tin is made of.
Cheers, BB.
I live a 24 Hour lifestyle, but every now and again I seem to fall asleep, well at least that's what my wife tells me.
It's Kirby for dinner tonight splashed in orange sauce. I might have to go out and buy another tin as I have run out and still got a fuel tank to do, I almost forgot how time consuming the engine was. Still plenty of cleaning to do and then re assembling but I'm now at a standstill as its a waiting game for parts to arrive before I can get stuck back into it. Looks like its time to go fishing
I didn't want to divulge too much info as that stuff is really nasty if treated without respect, and not for DIY'ers.
There's a solvents company in Sydney we use for work and I have a glass bottle of 100% strength to top it up. You really know your stuff BB and after telling the boys in our metal shop, they'd love to pick your brain. I've often relayed your words and they look at me like I'm not supposed to know this stuff!! I'm the kind of mind that l learns by 'doing' rather than reading and I've learnt so much these past months from everyone on the forum. Add that to the opportunity to show off my work AND get feedback, well, thats priceless.
Bon - a very nice finish on the parts - what temp do you bake at and what sort of timeframe? By memory you're a spray gun kind of guy, yes? Is yours fed from above or sucked up from below. I've used a sucker for restoring furniture but have heard gravity is better/easier to use.
I don't use a spray gun just cans from supercheap/Repco I bake at 90°-95°C for 1 hour as recomended on the labels. I use the Duplicolor hi temp engine enamel paint which has a ceramic formula and designed to be baked so it withstands engine temps of 260°C, oil and petrol if spilled to stop the paint from thinning or crazing. I first hit it with the primer then the colour, If you check out my thread on the last Kirby engine rebuild I did for the 45 it's all in there (note someone just re-reserected the thread). Oh word of advise don't use your kitchen oven, your misses will kill you plus it smells and is probably not good to then cook food in
Sorry for the long delay in finishing this off but I promised I would document the whole build and show the end results.
I must say I'm proud of the finished results and I'm not one to blow my own trumpet but this edger looks top notch and one of the best I have seen.
Like my 45 it's as close as you can get to an origional factory build of its era. I even got the hand leaver re-chromed ($20.00 what a bargain) The only thing is the on/off tap decal which I managed to salvage off the tank with the heat gun and soaked it in rubbing alcohole to clean the old glue off, once I can work out what adhesive to apply to the decal it will go back on.
I really don't want to use it now as it's so nice and don't want to get it dirty but hope this helps and inspires others looking to do the same.
I now have a matching restored pidgion pair, 45 & 38
It looks absolutely fabulous, without a doubt the best one I've seen over the years. 3 years ago no one would've ever looked at a 38 but now they are the hottest property besides the Model 45 in the lawnmower landscape.
I totally understand where you are coming from about not using it and to be brutally honest I feel that most people that will restore one of these will probably never use it either as they don't fit into the gardens of today as I've previously mentioned, but regardless of my thoughts over the matter it's a beautiful piece of gardening machinery, just like the EH Holden is to the road, the Model 38 is that to the traditional garden.
Well Done young man, you should be proud of your efforts !
Cheers, BB.
I live a 24 Hour lifestyle, but every now and again I seem to fall asleep, well at least that's what my wife tells me.
Your not wrong about these edgers now being the hottest thing to buy next to a 45, everyone seems to want one and are now paying top dollar. Unfortunately there doesn't seem to be as many model 38's out there in comparison to 45's, so for those so called collectors or people who want one just to say they have a set are desperately killing each other to get their hands on one.
Personally I have always used these style edgers and picked this one up in Brisbane while I was on holidays purely for the Kirby engine incase I needed parts for my 45. Silly thing is you can pick up any brand of these older style edgers that do the exact same thing for $20.00-$50.00, I currently have 3 rover edgers and just sold a Jetfast edger. Only reason I buy them is for parts as it's cheaper to buy the whole machine than the part itself.
I'm tempted to keep using my daily rover edger as it's a left sided blade which I think will work better in my yard with certain edging directions due to fences, sheds and other objects getting in the way of the handle bars. As for those other edgers one is equipt with a circular saw blade which I use to cut small tree roots out of the ground and grind small tree stumps just below the dirt and it does the job fine.
I'm not short of edgers so I might keep this one as my EH Holden considering it's a more desirable series with the Kirby engine and white handle bars.
Hope everyone enjoyed this one as much as I did. Below is a pic of the belt pulley system prior to the guard being installed as I don't think I posted any pics of the blade system re-installed
There's not to many of them out there with the Kirby engines, wide tires and hand leaver the majority are the later Briggs series which most people are picking up and not many have restored them. I think if you going to have a model 38 edger and your going to spend the dollars to restore it your wanting to get your hands on the early white handle Kirby series as in my opinion it's the unicorn of Scott Bonnar edgers. It's a great looking machine when done properly and that Kirby engine gives it that vintage look which I love. I'm going to keep this one as a museum piece as I know there's a few of those obsessed Scott Bonnar lunatics with dozens of machines in there shed but don't have an edger let alone the earlier series. There's no way I will sell it as I'm an edger person and maybe I can pass it down to some grand kids one day and show them what quality Australian engineering is and how I restored it to its former glory. Who knows at the way prices are with these things now it may be a little investment in another 50 years.
Not quite sure If I'd hold my breath on that ???, currently there's still quite a few of these Model 38's out there. They show up every second Auction down here in Good Ol' Scott Bonnar town.
Like I suggested in another thread, I'd say in 50 years there won't be a substance called "Petrol". All these items will simply be static display pieces to merely look at.
Cheers, BB.
I live a 24 Hour lifestyle, but every now and again I seem to fall asleep, well at least that's what my wife tells me.


 plus it smells and is probably not good to then cook food in


